

How to Adjust Dirt Bike Gearing
How to Adjust Dirt Bike Gearing for Different Tracks
Your dirt bike’s gearing determines how the engine’s power translates to your rear wheel. Get it right, and your bike pulls hard out of corners, hits jumps where you want, and carries speed without fighting the rev limiter. Get it wrong, and you’ll miss shift points, lose drive, and tire yourself out.
This guide explains how gearing works, what to change for different tracks, and a step-by-step process to adjust, test, and fine-tune your setup.
Why Gearing Matters
Gearing defines the relationship between engine RPM's and wheel speed. Think of it as the bike’s personality: snappy and quick to accelerate, or stretched out for higher top speed.
Different tracks reward different personalities. Tight, technical courses need punchy acceleration; fast, flowing tracks demand longer legs. By learning how to adjust your sprockets, you can gear your bike to the day’s conditions—often with a single front sprocket tooth or a couple of teeth on the rear.
What you’ll gain from this guide:
- A clear understanding of stock gearing and gear ratios
- How front and rear sprocket changes affect acceleration and top speed
- Practical criteria for choosing gearing based on track size, terrain, and riding style
- A step-by-step adjustment process
- Methods to test and fine-tune your setup
Understanding Stock Gearing
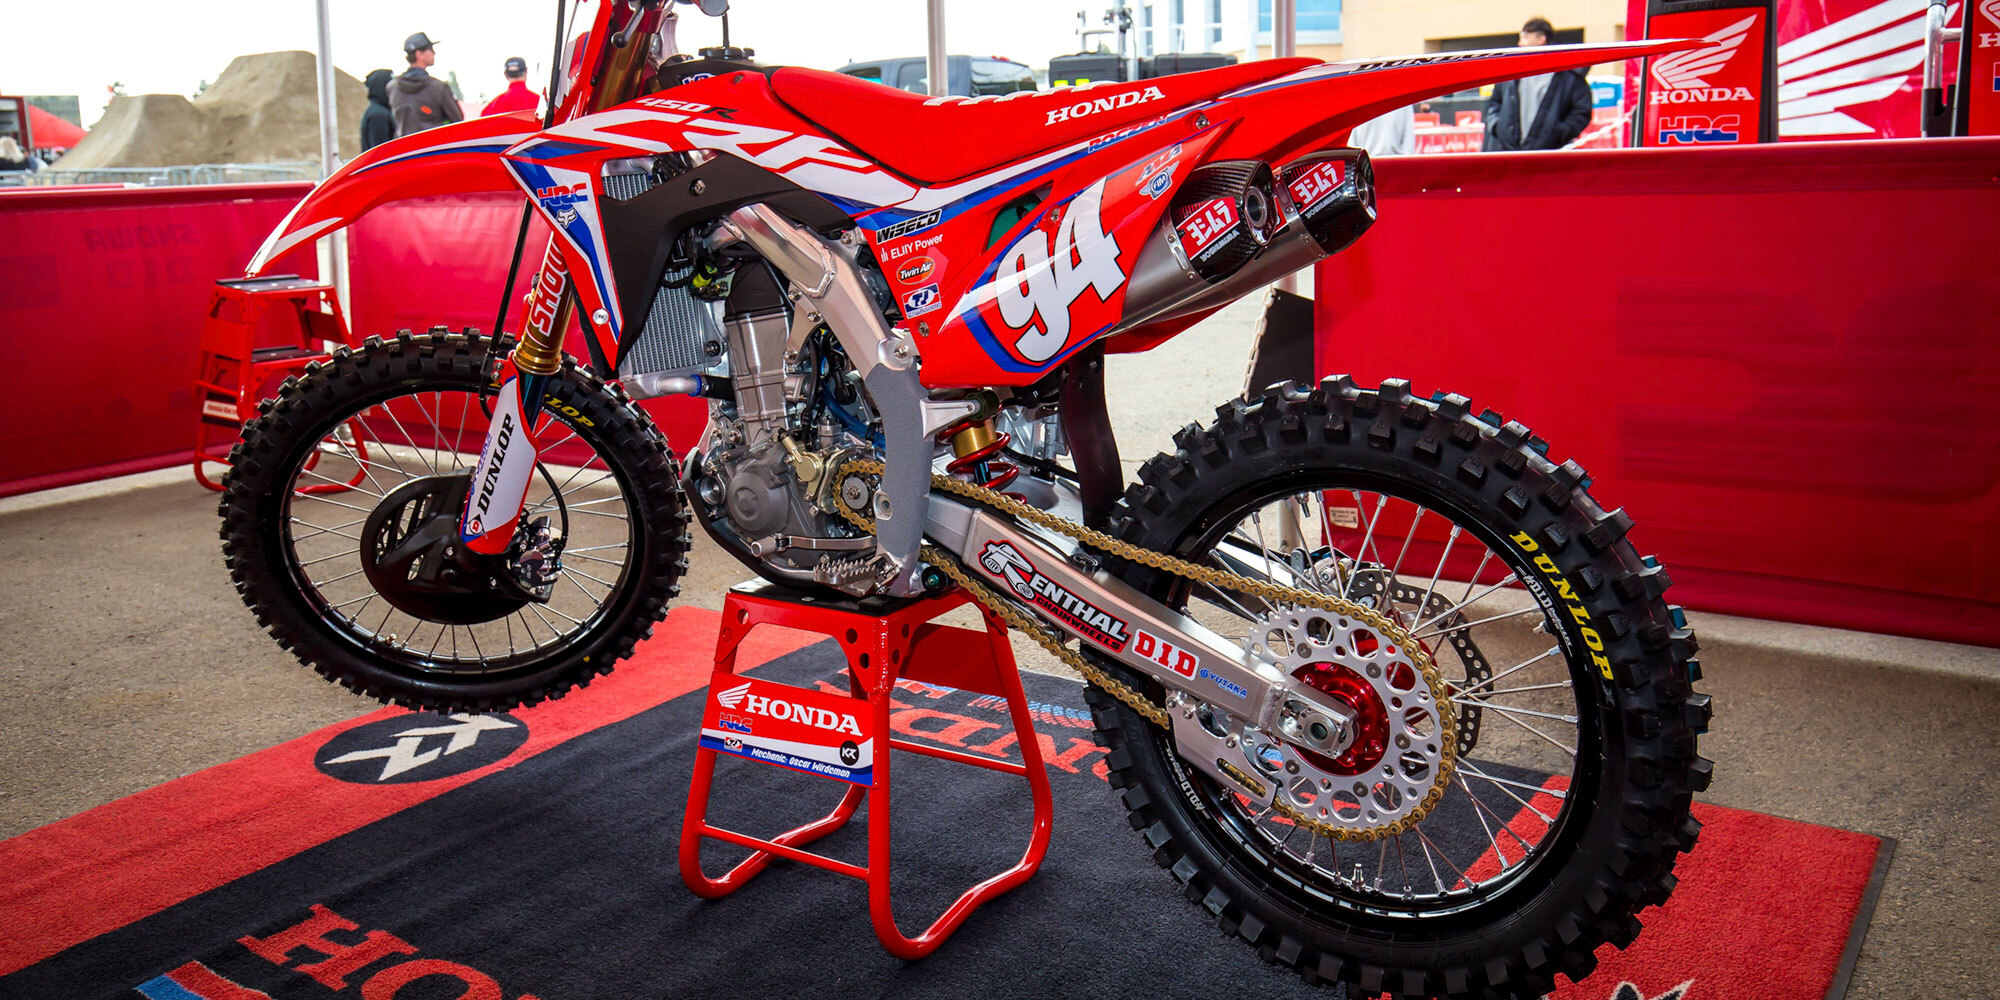
Stock gearing is the sprocket combination your bike ships with from the manufacturer (e.g., 13-tooth front, 49-tooth rear). It’s a balanced baseline designed for general use, not for a specific track type. Your gear ratio is calculated by dividing rear teeth by front teeth. For example:
- 49 (rear) ÷ 13 (front) ≈ 3.77 final drive ratio
This ratio tells you how many times the front sprocket must rotate to turn the rear wheel once. Higher numbers mean “lower” gearing (more acceleration, less top speed). Lower numbers mean “higher” gearing (less acceleration, more top speed).
How changes affect the ratio:
- Change the front (countershaft) sprocket: One tooth difference on the front makes a significant change. Dropping one tooth on the front increases the ratio noticeably (more acceleration). Adding one tooth lowers the ratio (more top speed).
- Change the rear sprocket: Each tooth on the rear makes a smaller change than the front. Adding a rear tooth increases the ratio (more acceleration). Removing a rear tooth lowers the ratio (more top speed).
Rule of thumb: One tooth on the front is roughly equivalent to three teeth on the rear in effect.
Factors Influencing Gearing Choice
Not every track—or rider—needs the same setup. Consider:
- Track size and layout: Smaller, tighter tracks with short straights need quicker acceleration. Larger tracks with long straights need higher top speed.
- Terrain: Soft sand or deep loam loads the engine; you may want lower gearing for stronger drive. Hard pack with good traction can tolerate taller gearing.
- Elevation and temperature: High elevation or heat reduces engine power; a slightly lower gear can help maintain drive.
- Rider skill and style: Aggressive riders who keep revs high may prefer slightly taller gearing to avoid constant shifting. Smoother riders who short-shift may benefit from lower gearing to stay in the power.
- Bike type and displacement: 250Fs often like to rev and may run slightly taller than a torquey 450, which can pull a taller gear but may be harder to manage in tight sections.

Gearing Up for Smaller Tracks
A common approach is to gear higher (i.e., lower final drive ratio) for tight, technical tracks like carnicross and arenacross. This typically means:
- Add a tooth on the front, or
- Remove one to two teeth from the rear
What you’ll feel:
- Smoother, more manageable throttle in lower gears
- Fewer shifts between corners (hold a gear longer)
- Reduced chance of hitting the rev limiter prematurely
- More traction because the engine isn’t spiking RPMs aggressively
Example: If you run 13/49 stock and you’re always between 2nd and 3rd with lots of shifting, try 14/49 or 13/47. You’ll carry each gear further, making rhythm sections and whoops more controlled.
Tips:
- If you find your bike wheelie-prone out of tight turns, taller gearing can calm the front end.
- If the engine bogs in low RPM corners with taller gearing, consider a slightly richer fueling setting or downshift sooner to keep it in the torque.
Gearing Down for Bigger Tracks
For large, fast tracks like RedBud MX, riders often gear down (i.e., higher final drive ratio) to maximize drive and manage long straights. This usually means:
- Drop one tooth on the front, or
- Add one to three teeth on the rear
What you’ll feel:
- Stronger pull exiting corners and up long hills
- Quicker drive out of deep loam or sand
- More frequent shifting at the very top end, but better acceleration where it counts
Example: From a 13/49 stock, try 12/49 or 13/50–51 if you need more punch. You’ll reach top speed sooner; if you’re bouncing off the rev limiter on the longest straight, step back one tooth on the rear.
Tips:
- Watch your rev limiter. If you’re tapping it long before braking zones, you’ve gone too low.
- On high-speed jump faces, ensure you have enough headroom in the gear to avoid an unexpected limiter hit.
Note: The table note you may hear at the track echoes this: it’s common to gear higher for smaller tracks like carnicross and arenacross, and gear down for bigger tracks like RedBud MX to chase top speed.
Step-by-Step Adjustment Guide
Changing gearing is straightforward with basic tools. Set aside 30–45 minutes if you’re familiar; a bit longer if this is your first time.
Tools and supplies:
- Bike stand
- Socket set and torque wrench (check your service manual for specs)
- Chain breaker/riveter or master link pliers
- New sprockets (front and/or rear), new locking washer for front if required
- New chain if your gearing change requires a different length
- Threadlocker (medium strength), chain lube, rags
1) Prep and inspect
- Clean the drivetrain so you can see wear patterns.
- Inspect your current chain and sprockets. Hooked teeth or stiff links? Replace the whole set. Mixing old chains with new sprockets accelerates wear.
2) Remove the front (countershaft) sprocket
- Shift into neutral. Remove the front sprocket cover.
- With the rear brake applied (have a helper or use a strap), loosen the countershaft nut or bolts. Some bikes use a locking washer—bend tabs flat first.
- Slide the chain off the front sprocket and remove the sprocket.
3) Remove the rear sprocket
- Put the bike on a stand. Loosen the rear axle nut and slide the wheel forward to create chain slack; remove the chain from the rear sprocket.
- Remove the wheel or leave it on if accessible (most remove it).
- Loosen and remove the sprocket bolts in a star pattern. Clean the hub surface.
4) Install new sprockets
- Rear: Seat the new sprocket on the hub. Use medium threadlocker on clean bolts. Tighten in a star pattern to manufacturer torque.
- Front: Lightly grease the countershaft splines, slide on the new sprocket with any spacers/washers in correct orientation. Install the locking washer/nut. Do not final-torque yet.
5) Adjust chain length (if needed)
- If you changed several teeth on the rear, you may need to add or remove chain links. Use a chain breaker/riveter and follow chain manufacturer instructions.
- Aim to keep axle position within the swingarm marks; extreme forward/back positions affect handling.
6) Set chain tension and align wheel
- Refit the rear wheel if removed; route the chain over both sprockets.
- Adjust chain slack to spec (often around 30–50 mm vertical movement at the midpoint; check your manual).
- Align the wheel using swingarm marks and, ideally, a chain alignment tool.
- Torque the rear axle to spec.
7) Final torque and checks
- Apply rear brake and torque the front sprocket fastener to spec; bend the lock washer tab if applicable.
- Spin the wheel, check for tight spots in the chain, and ensure smooth operation.
- Reinstall the front sprocket cover and lube the chain.
Safety note: Always recheck all fasteners after your first session.
Testing and Fine-Tuning
Take a systematic approach at the track:
- Warm-up laps: Ride at 70–80% pace to feel shift points and corner exits. Note where you’re shifting earlier or later than before.
- Assess acceleration vs. top speed: Are you clearing jumps without ringing the limiter? Are you bogging in hairpins? Adjust one tooth at a time.
- Monitor traction: If the rear spins excessively on hard pack, consider taller gearing for smoother delivery—or adjust throttle mapping/suspension.
- Track sections analysis:
-
- Rhythm/Whoops: If you’re short-shifting mid-section, taller gearing can help you hold one gear cleanly.
- Long straights: If you’re topped out well before braking, go taller; if you’re getting passed out of corners, go lower.
- Lap times and data: Use a lap timer or GPS app. Small gearing changes can net consistent tenths. Record your setups with conditions noted (temp, elevation, soil).
Pro tip: Make one change at a time and ride at least two sessions before deciding. The bike will feel different; give yourself time to adapt.
Common Gearing Setups and Examples
- 250F on tight arenacross: From 13/49 stock to 14/49 (taller) to reduce shifts and smooth delivery.
- 450 on deep sand MX: From 13/49 to 13/51 (lower) to keep the engine in the meat of the torque and pull harder out of soft turns.
- Vet rider on mixed track: From 13/49 to 13/48 for a touch more top speed without losing too much drive.
Remember, one tooth changes feel dramatically. Start modestly.
Dial It In for Your Track—and Your Style
Gearing is one of the most impactful—and cost-effective—tuning levers on a dirt bike. Use stock gearing as your baseline, then adjust the front and rear sprockets based on track size, terrain, and how you like to ride.
Gear higher for smaller tracks like carnicross and arenacross to smooth delivery and reduce shifting; gear down for bigger tracks like RedBud MX when you need more drive and top speed.
Follow the steps above to swap sprockets safely, test with intent, and keep notes.
Ready to find your perfect setup? Pick up a couple of sprocket options before your next ride and start experimenting. Your fastest lap might be just one tooth away.
Recent Posts
-
Step-by-Step Guide: How to Change a 2-Stroke Dirt Bike Piston
How to Change a 2-Stroke Dirt Bike Piston: A Step-by-Step Guide There is nothing quite like the sou …Jan 27th 2026 -
Dirt Bike Tire Sizing Explained: Metric vs. Standard Guide
Dirt Bike Tire Sizing: Metric vs. Standard Explained Getting the right tires for your dirt bike is c …Jan 24th 2026 -
Ford 363 Crate Engine Specs: A Complete Guide
Ford 363 Crate Engine: A Deep Dive Into 500+ HP When you're searching for the heart of your next pr …Nov 5th 2025


