

How to Install Aftermarket Snowmobile Parts | Step-by-Step Guide
How to Install Aftermarket Snowmobile Parts: A Step-by-Step Guide
Installing aftermarket parts is one of the most rewarding ways to customize your snowmobile, boosting its performance, comfort, and style. While some complex jobs are best left to a professional mechanic, many common upgrades can be handled right in your own garage with basic tools and a bit of patience.
This guide provides a general framework for installing popular aftermarket parts like exhaust systems, suspension components, and heated grips. We will cover the essential steps, from pre-installation checks to final testing, so you can tackle your next project with confidence.
Before You Begin: Preparation is Key
Proper preparation prevents poor performance. Before you touch a single bolt, follow these critical preliminary steps.
- 1. Confirm Compatibility: Double-check that the part you purchased is designed for your snowmobile's specific make, model, and year. Review the product description and packaging. Installing an incompatible part can cause damage or lead to unsafe riding conditions.
- 2. Read the Instructions: Your new part should come with manufacturer-specific instructions. Read them thoroughly before you start. They will provide details and specifications that are unique to that component.
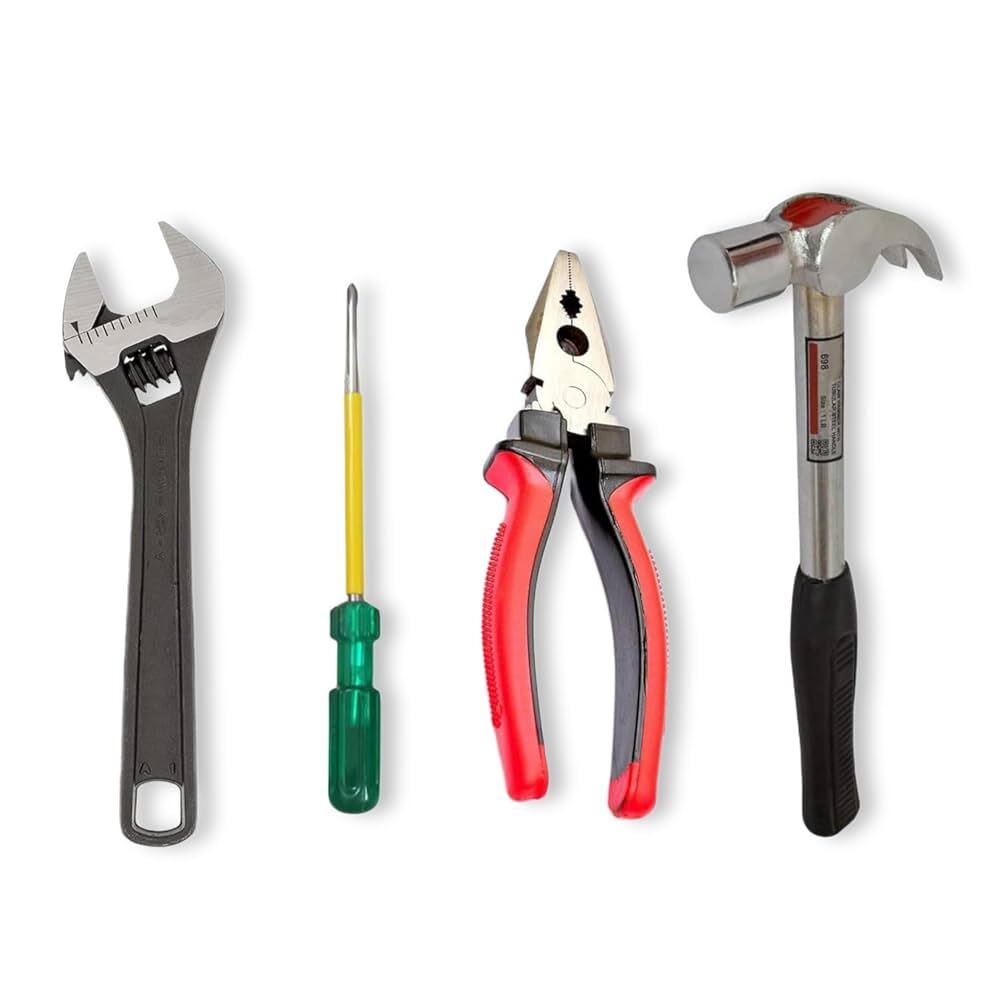
- 3. Gather Your Tools: Lay out all the tools you will need. A basic toolkit for most snowmobile jobs includes:
-
- Socket and wrench set (Metric)
- Torque wrench
- Screwdriver set (Phillips and flathead)
- Pliers (needle-nose and standard)
- Spring puller tool (for exhaust work)
- Drill and drill bits (for some accessories)
- Shop rags and cleaner
- 4. Prioritize Safety: Work in a well-lit, ventilated area. Always wear safety glasses and gloves. Ensure the snowmobile is on a stable, level surface and that the engine is completely cool before beginning any work. Disconnect the battery to prevent accidental starts or electrical shorts.
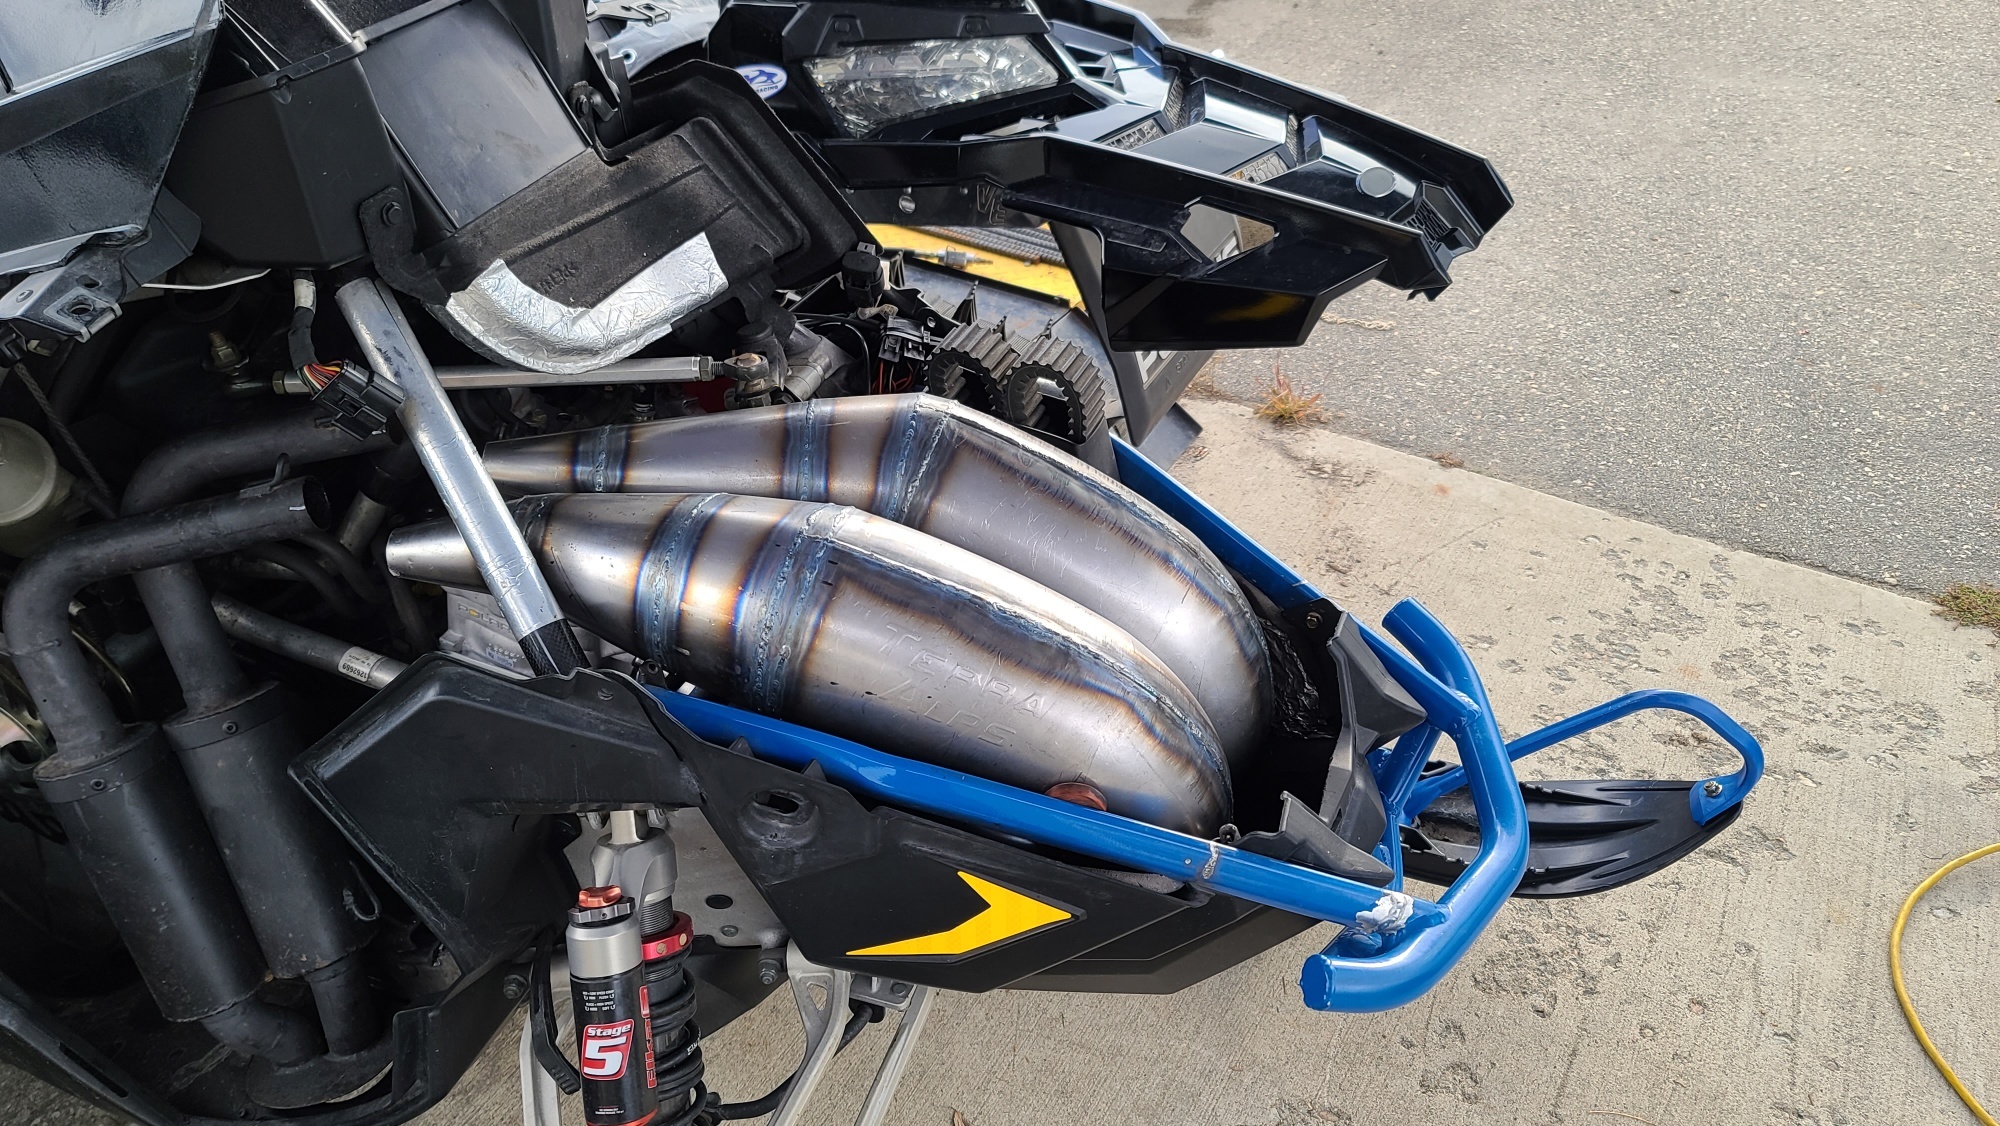
Part 1: How to Install an Aftermarket Exhaust System
Upgrading your exhaust can increase horsepower, reduce weight, and give your sled a more aggressive sound.
- Step 1: Remove the Old Exhaust: Start by removing the side panels to access the engine bay. Use a spring puller tool to carefully disconnect the springs holding the stock pipe and silencer in place. Once all springs and mounting bolts are removed, gently maneuver the old exhaust components out of the chassis.
- Step 2: Clean the Mounting Surfaces: Inspect the exhaust port on the engine. Clean off any old gasket material or carbon buildup to ensure a perfect seal for the new system.
- Step 3: Install the New System: Position the new pipe (and manifold, if applicable) and loosely attach it to the engine using the provided gasket and hardware. Do not tighten the bolts completely yet.
- Step 4: Align and Secure the Components: Fit the new silencer into place, connecting it to the pipe. Attach all mounting springs, starting with the ones that are hardest to reach. With all components aligned, go back and tighten all bolts to the manufacturer's recommended torque specifications.
- Step 5: Final Check: Re-install the side panels. Start the engine and listen for any exhaust leaks, which sound like a hissing or puffing noise near the connection points.
Pro Tip: Soapy water sprayed on cold exhaust joints can help you spot leaks by showing bubbles when the engine is started.
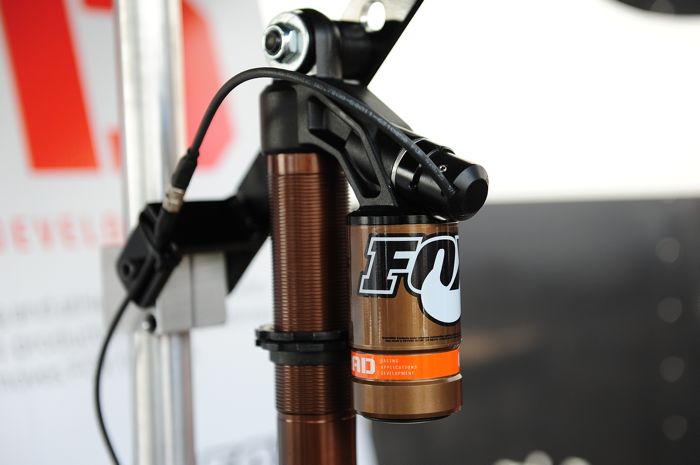
Part 2: How to Install Suspension Components (Shocks)
Upgrading shocks can dramatically improve ride quality and handling.
- Step 1: Lift the Snowmobile: Safely lift the end of the snowmobile you are working on (front or rear) so the suspension is fully extended and the track or skis are off the ground. Use a secure stand or lift.
- Step 2: Remove the Old Shocks: Locate the upper and lower mounting bolts for the shock you are replacing. You may need two wrenches—one to hold the nut and one to turn the bolt. Remove the bolts and carefully take out the old shock.
- Step 3: Install the New Shocks: Position the new shock, making sure it is oriented correctly (check the manufacturer's instructions). Insert the mounting bolts and hand-tighten the nuts.
- Step 4: Torque to Spec: Use a torque wrench to tighten the mounting bolts to the value specified in your service manual or the part's instructions. This is crucial for safety and performance.
- Step 5: Repeat and Test: Repeat the process for the other shocks. Once all are installed, lower the snowmobile and compress the suspension a few times to help the new components settle.
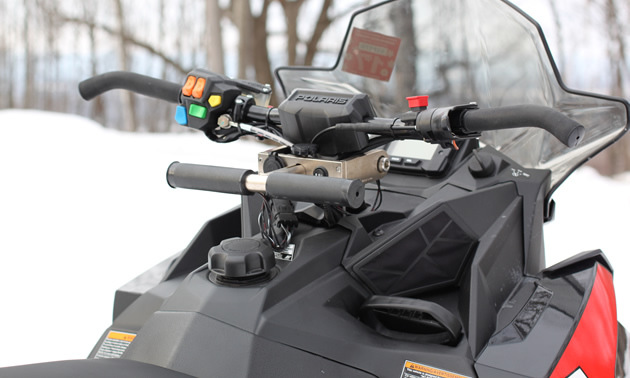
Part 3: How to Install Heated Grips
Heated grips are a must-have for comfort during long, cold rides.
- Step 1: Remove the Old Grips: Take off the handlebar hooks. Use a utility knife to carefully cut a slit along the old rubber grips and peel them off. Be cautious not to scratch the handlebars. Clean off any remaining adhesive residue.
- Step 2: Install the Heating Elements: Most kits use thin, flexible heating elements that wrap around the handlebars. Secure them in place with the provided electrical tape, ensuring they are smooth and flat.
- Step 3: Route the Wiring: Carefully run the wires from the heating elements along the handlebars towards the steering column. Use zip ties to secure the wiring neatly, leaving enough slack for the handlebars to turn fully without pulling on the wires.
- Step 4: Install the New Grips: Slide the new rubber grips over the heating elements. Using a grip adhesive or even hairspray can help them slide on and will secure them once dry.
- Step 5: Connect to Power: Following the kit's wiring diagram, connect the leads to a switched power source on your snowmobile. This ensures the grips only receive power when the ignition is on. Install the switch in a convenient location on your dashboard or handlebars. Test the grips to ensure they heat up properly at all settings.
Enjoy Your Upgraded Ride
You’ve successfully installed your new aftermarket parts! Before hitting the trails, take your snowmobile for a short, gentle test ride to ensure everything feels and sounds right. Check that all bolts are still tight and that no components are rubbing or binding.
Installing your own parts not only saves you money but also gives you a deeper understanding of your machine. With each project, you'll build more confidence for the next one.
Ready to find your next upgrade? Explore our full selection of high-quality aftermarket parts and take your snowmobiling experience to the next level.
Recent Posts
-
How Spring Rate Changes Transform Your Dirt Car's Handling
Master Your Dirt Car: How Spring Rates Transform Handling You hit the entry of turn one, pitch the c …Mar 5th 2026 -
Ford 427 Crate Engine: Specs, Performance & FAQ
Unboxing the Beast: A Guide to the Ford 427 Crate Engine When the name "427" is mentioned in Ford c …Feb 25th 2026 -
J-Bar Tuning Guide: Controlling Roll & Balance in Dirt Cars
Master Dirt Track Handling: A Guide to J-Bar Tuning & Adjustments Ever feel like your dirt car has …Feb 17th 2026


