How to Replace Snowmobile Track Clips
Snowmobiling is an exhilarating outdoor activity that requires regular maintenance to keep the sled in top condition. One crucial aspect of snowmobile maintenance is maintaining the track as it is what keeps the sled moving. Snowmobile track clips may not be something you think about regularly, but they are essential to your snowmobile's performance. Replacing them when they are worn out or damaged is crucial to ensure that your sled performs properly. In this blog post, we will provide a step-by-step guide on how to replace snowmobile track clips.
- Lay snowmobile on its side over a piece of cardboard or carpet to gain access to the track.
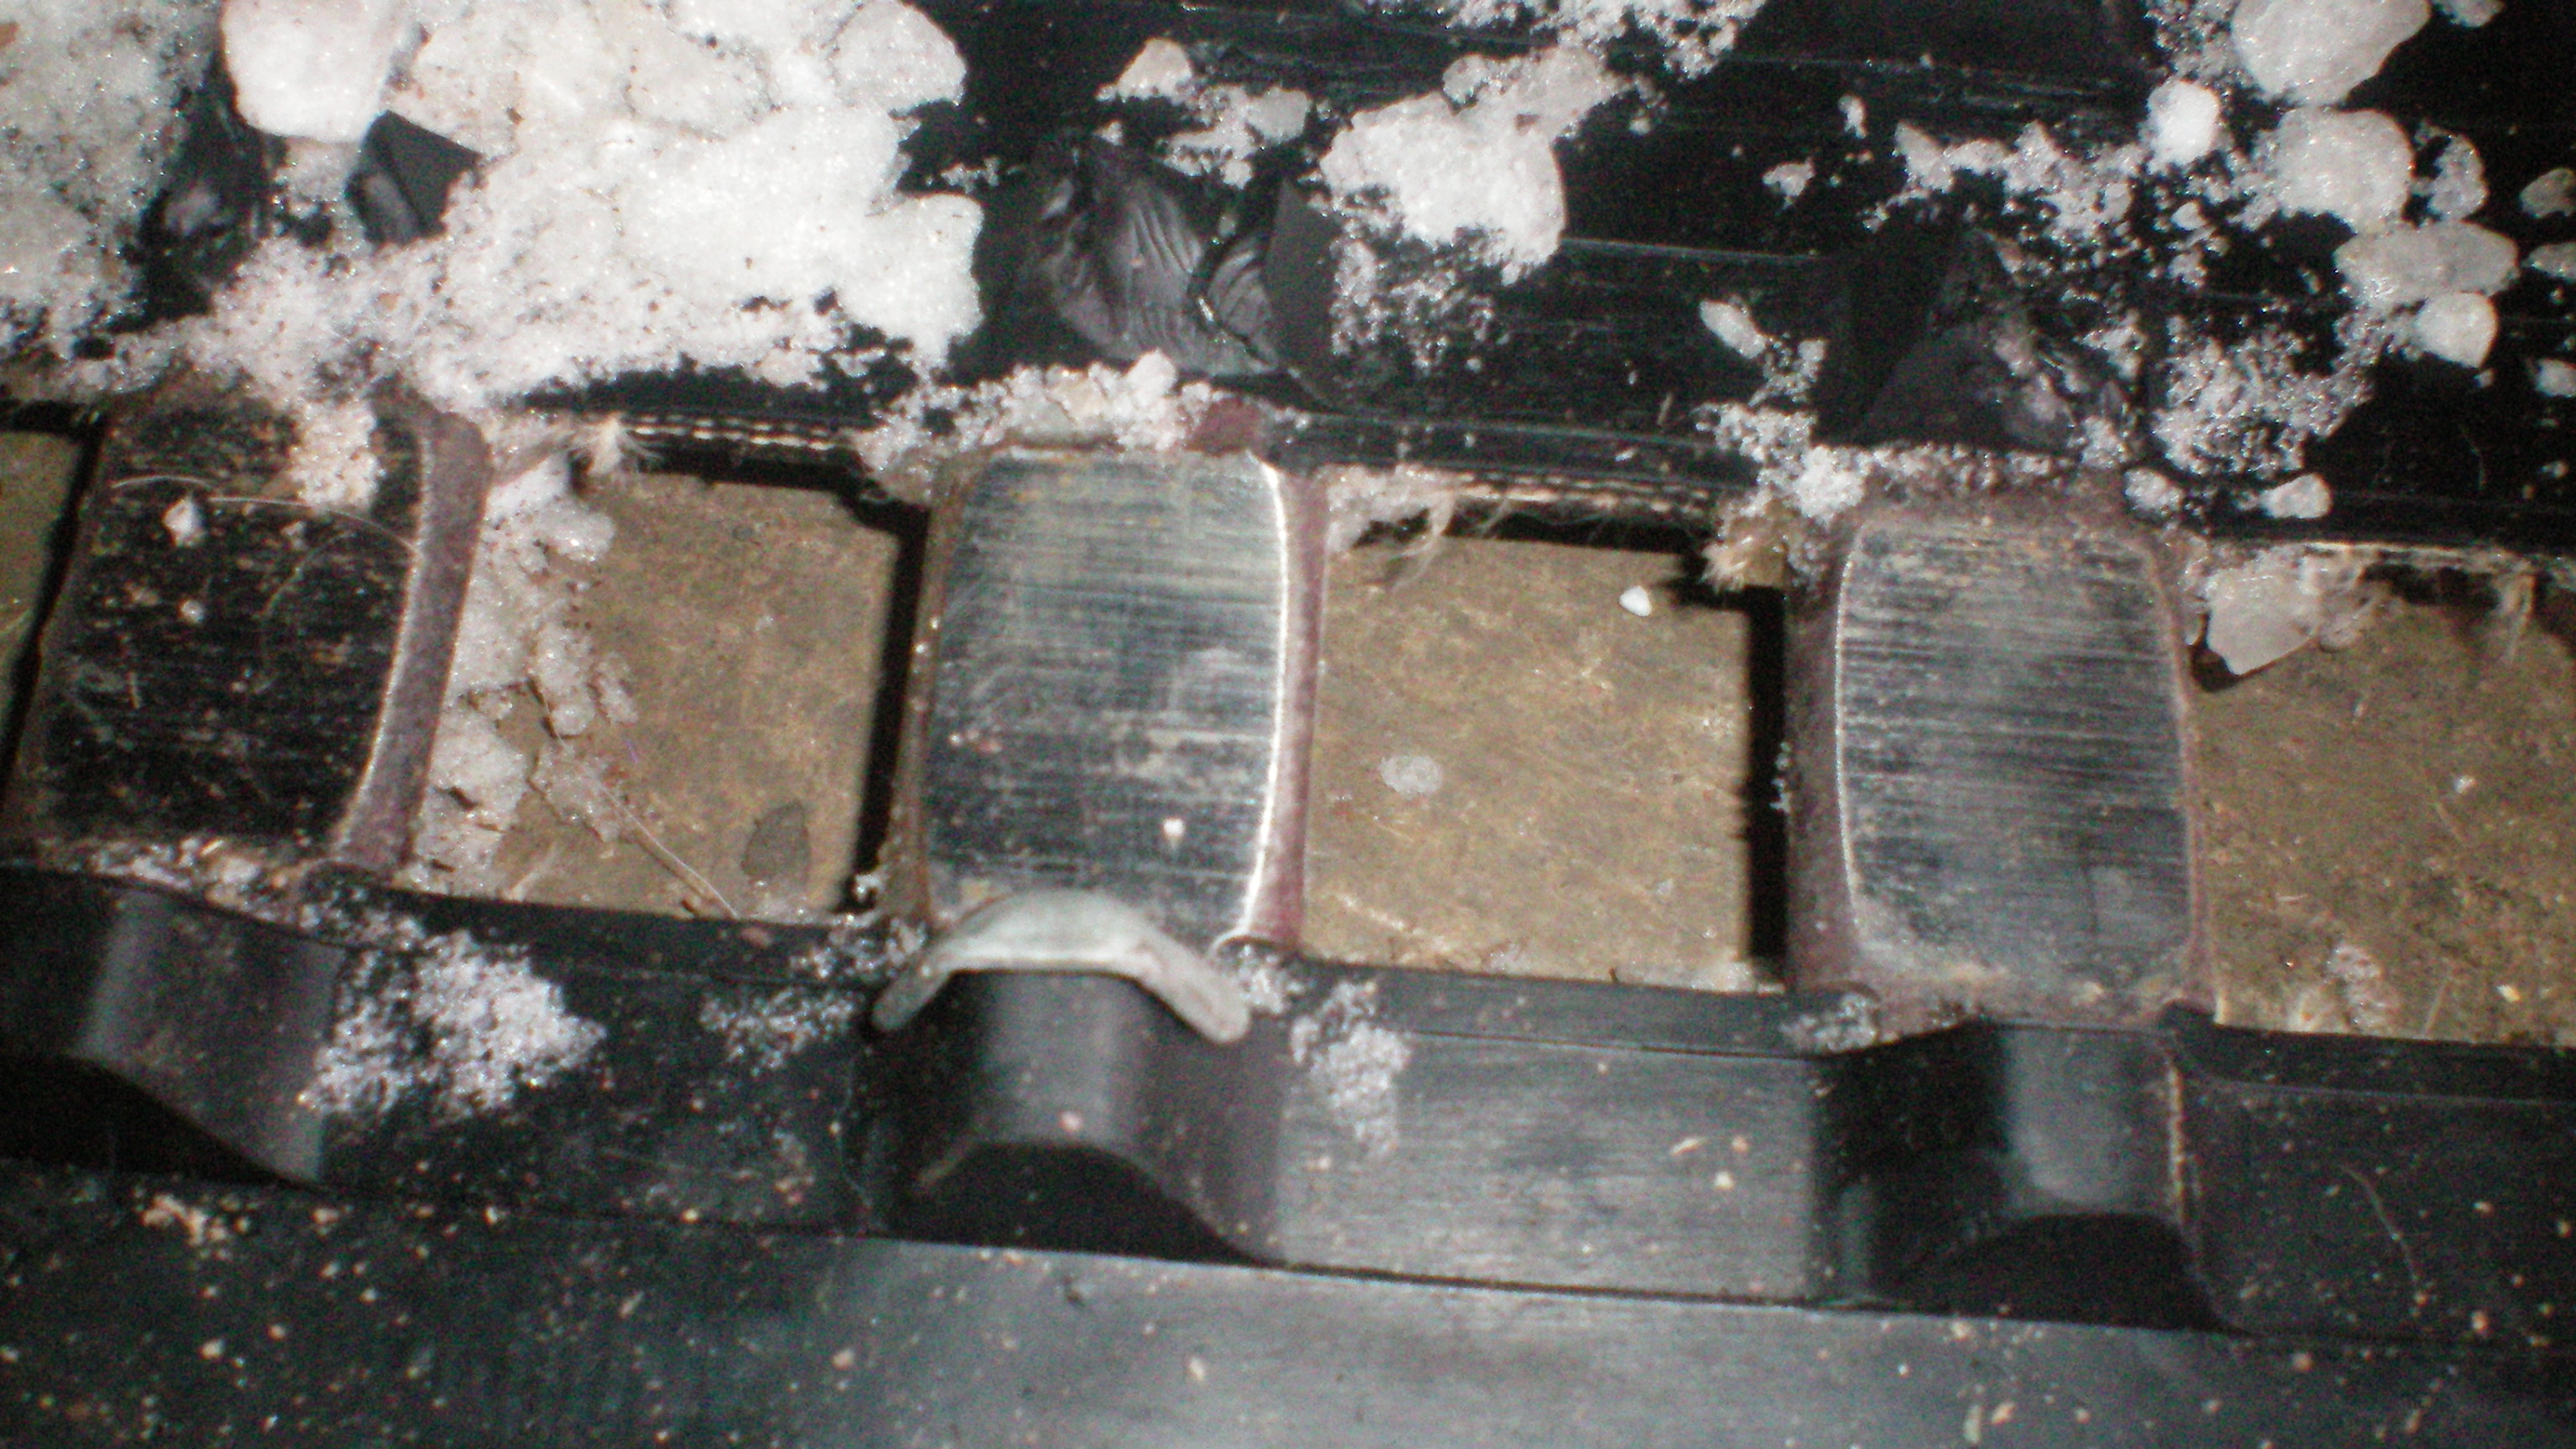
- Inspect and highlight clips that need to be replaced.
- Cut off worn clips using either a cutoff tool with 3-inch disc or an air chisel.
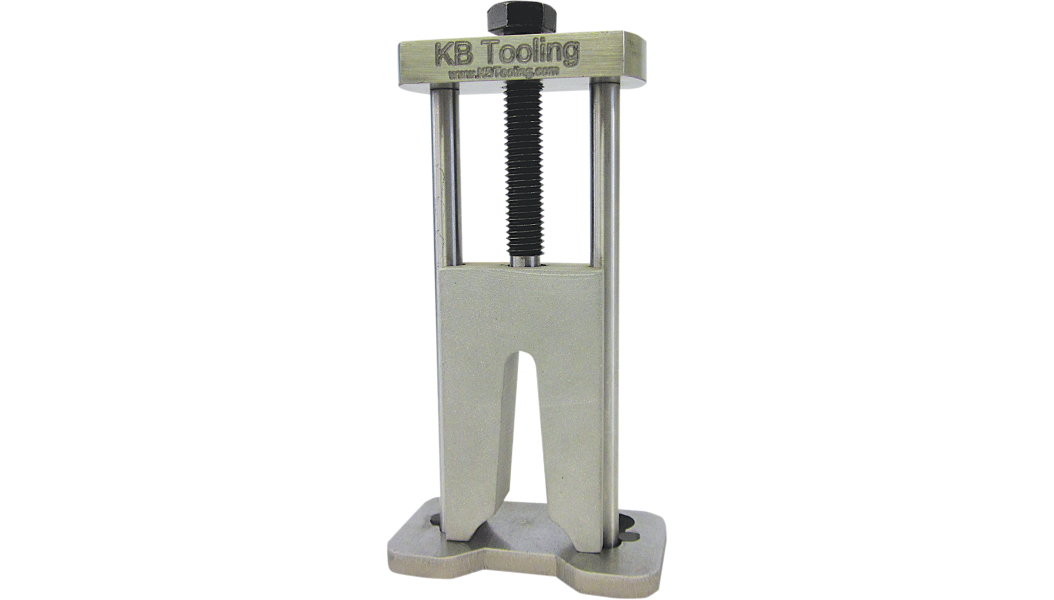
- Install new clips using an impact wrench and track clip installation tool.
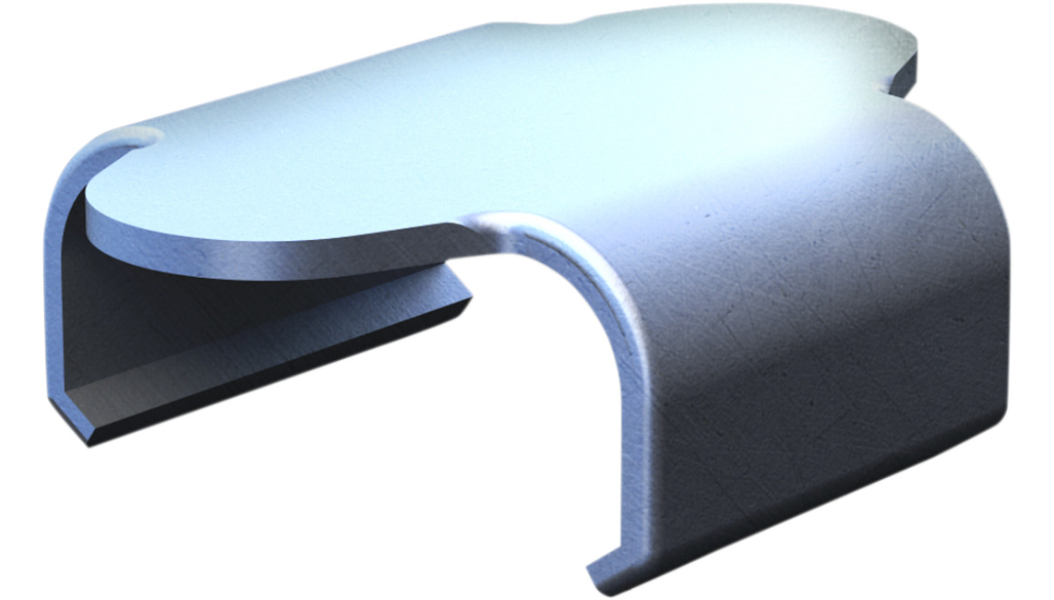
- Examine window size and hood height, as well type of clip (ribbed or holed) prior to purchasing new clips.
Preparing the Snowmobile
Are you having trouble accessing the track on your snowmobile for maintenance or repair? Here's a handy tip: lay your snowmobile on its side over a piece of cardboard or carpet! This allows you to easily access the track without having to flip the entire snowmobile over. Plus, the cardboard or carpet helps protect the snowmobile from scratches or damage. Don't let track maintenance be a hassle – try this simple trick next time you need to work on your snowmobile.
Inspecting and Highlighting Clips
Once you have access to the track, inspect it carefully and identify the clips that need to be replaced. It's essential to look closely, as it's not always easy to spot worn-out or damaged clips. Once you've identified the clips that need to be replaced, use a paint marker to highlight them. This step will help you avoid replacing the wrong clips later on.
Cutting Off Worn Clips
Now that you've identified the worn-out or damaged clips, it's time to remove them. Using a cutoff tool with a 3-inch disc or an air chisel, carefully cut the clip off. Be cautious not to damage the track or the sled itself while cutting off the clips.
Installing New Clips
Once you've removed the old clips, it's time to install the new ones. It's essential to purchase new clips based on the window size, hood height, and type of clip required. There are two main types of clips, ribbed and holed, so make sure you know which type your sled needs. Use an impact wrench and a track clip installation tool for efficient installation. Remember to be careful when tightening the clips, as they should be snug but not over-tightened.
Replacing snowmobile track clips is an important maintenance task that should not be overlooked. Regularly checking the clips and replacing them when necessary will help keep your sled in top condition. It's also essential to use the right tools when replacing the clips to avoid accidents or damages. If you're not confident in doing the task yourself, seek professional help. Always follow the guidelines listed in the sled's user manual. Remember that proper maintenance goes beyond just replacing clips. Keeping the sled in good condition and using best practices will ensure many enjoyable snowmobiling trips ahead.
Additional Tips:
- Regularly check the sled's owner manual for recommended maintenance schedules
- Keep the sled clean and free of debris after each use
- Cover the sled when not in use to prevent moisture buildup
- Use only recommended oils and fluids in the sled's engine and track
- Check for worn skis and carbides and replace them if necessary
Recent Posts
-
Upgrade Your Motorcycle's Comfort and Style with Saddlemen Step-Up Seats
Upgrade Your Motorcycle's Comfort and Style with Saddlemen Step-Up SeatsRiding your motorcycle shoul …Jan 23rd 2024 -
How to Set Dirt Bike Sag - The Ultimate Guide
How to Set Dirt Bike Sag - The Ultimate GuideDirt bikes have unique suspension systems that allow th …Jan 22nd 2024 -
The Ultimate Guide to Must-Have Accessories for Your Harley Street Glide
The Ultimate Guide to Must-Have Accessories for Your Harley Street GlideHarley-Davidson's Street Gli …Jan 18th 2024


